
We know the task feels big, but a clear plan makes this job fast and stress-free.
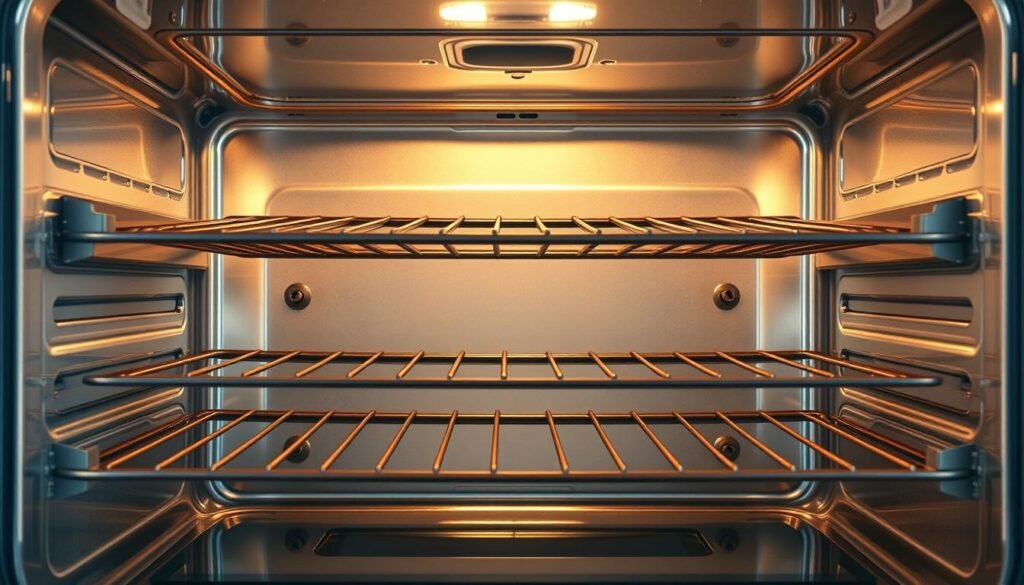
Ovens collect drips and splatters from everyday meals. We follow the manual and a few proven tips so the process runs smoothly.
First, we remove racks and items before any cycle. Next, we ventilate the kitchen for odors and wipe ash with a vinegar-and-water mix after self-cleaning.
If we skip the built-in cycle, a baking soda paste is a gentle DIY way clean the entire cavity. Most homes benefit from this routine every three to six months.
With the right supplies and a simple method, the inside oven looks and smells better, and baking tastes cleaner.
Key Takeaways
- Set expectations: pick a built-in cycle, DIY paste, or store option.
- Prep first: remove parts and ventilate for safety.
- Use mild tools and a vinegar mix after self-cleaning.
- Routine care every 3–6 months keeps our kitchen fresh.
- A clear plan turns a dreaded job into a quick win.
Before We Start: Pick the Right Method for Your Oven and Mess
Small drips and crumbs turn into stubborn spots when heat and time combine inside ovens. We first decide which method fits our schedule and comfort level: the built-in function, a DIY baking soda paste, or a labeled product.
Know the self-clean function: it reaches very high temperatures (around 800–1000°F). That process can take up to four hours and may produce strong odors. We avoid leaving pans, oven racks, or foil on the bottom during any high-heat cycle.
Before starting, we open windows, turn on the exhaust fan, and create a kid- and pet-free zone. Safety matters because heat and fumes can be intense.
- Remove racks, pans, and foil so metal won’t discolor or warp.
- Check the appliance manual and cleaner labels to avoid harmful chemicals on seals or the door.
- Set aside dish soap for hand-washing parts and plan where debris from the bottom will go.
We pick the way clean that we’ll actually do, balancing time, results, and safety.
How to Clean an Oven with the Self-Clean Cycle
Using the self-cleaning feature lets the oven handle the toughest grease for us. We start with a quick prep step that cuts smoke and prevents damage.

Prep: We remove racks, pans, and any foil from the bottom. Clearing crumbs reduces smoke and helps the cycle run well.
During the cycle: the function reaches very high heat and can run for several hours. We open windows, run the exhaust fan, and keep kids and pets away from the hot door and range.
After it cools: wait until the door unlocks and the unit drops to room temperature. Then we wipe the fine ash with a damp cloth or a 1:1 vinegar and water solution.
- Remove racks so metal won’t warp or discolor.
- Budget the right hours and expect odors while the interior works on baked-on grime.
- Check corners, the door frame, and the bottom for any powdery residue before returning racks.
Finish with a quick inspection and spot-dab any stuck debris so the oven is ready for the next use.
DIY and Store-Bought Methods for Deep Cleaning the Inside Oven
When grease won’t budge, a simple mixture often makes the job manageable. We pick a DIY route or a labeled product depending on time and sensitivity to strong smells.
DIY paste: We stir about 1/2 cup baking soda with just enough water until it forms a spreadable paste. We smear it on the inside oven walls, floor, and corners and leave racks out so nothing blocks access.
Boost with vinegar: A mist of equal parts vinegar and water foams on contact and lifts grime. We let the paste dwell for 12 hours or overnight, then wipe with clear water and repeat spots as needed.
- Use a plastic scraper for stubborn stains on the bottom; avoid heating elements and gaskets.
- If time is short, follow the label directions on a store-bought cleaner and respect any chemical warnings in the manual.
- Apply, wait, rinse, and repeat—this method cuts elbow grease and keeps the inside oven working better.
Finish by drying and checking that no soda paste remains so the appliance is ready for cooking again.
Oven Racks and Door Care: From Grease to Glass
Racks and the door take the brunt of baked-on messes, so they deserve focused attention. We start by sliding out the racks and soaking them in very hot water with a grease-fighting dish soap. Let them sit until grime softens; that makes scrubbing much easier.

Soak and scrub
After a long soak, we scrub with a non-scratch pad. For stubborn stains on stainless racks, we dab a light baking soda paste and work it in gently. Rinse thoroughly so no soda residue remains.
Metal caution and door care
We never use baking soda on aluminum racks; it can cause discoloration. For the interior oven door glass, a soft paste and a non-scratch pad lift haze. A quick mist of vinegar helps the final wipe reveal clear glass.
Exterior finish and final steps
We wash the exterior door and nearby stainless surfaces with hot, soapy water and a soft cloth. Then we polish with equal parts water and rubbing alcohol, wiping with the grain.
- Optionally, carefully lift baked-on bits on glass with a safety razor held flat.
- Rinse racks in clean water and dry completely before reinstalling.
- Give trim and edges a final check for lingering stains so the oven, racks, and door look ready for the next bake.
Smart Shortcuts, Common Mistakes, and Ongoing Maintenance
A quick monthly reset keeps grime from taking hold and saves us hours later.
Monthly steam refresh: We place a pan halfway filled with 2/3 water and 1/3 white vinegar in the oven at 300–350°F for about 30 minutes. After those minutes pass, we let everything cool, then wipe the interior with a soft cloth.
Simple daily and weekly tricks
A lemon-and-water spritz loosens grease between deep sessions. We spray, wait a few minutes, then rinse with clear water and dry. These small steps keep food tastes pure and make deep cleaning easier.
Common mistakes to avoid
- Don’t vacuum greasy crud — it clogs filters and spreads mess.
- Don’t flood the cavity with soapy water; liquid can leak through bottom holes.
- Don’t scratch stainless; we polish with a soft cloth and an alcohol-water mix, going with the grain.
Maintenance matters: we deep clean every three months if we cook often, and twice a year for lighter use. These habits turn a big job into routine care and keep our home kitchen ready for meals.
A Cleaner Oven, Less Elbow Grease, and Better-Tasting Food
A steady rhythm of care means fewer scrubs and more reliable baking results.
With regular self-clean cycles when needed, a baking soda and vinegar refresh, and monthly steam sessions, our meals taste truer and the kitchen smells fresher.
We use a mild cleaner at the right moment and a soft cloth on finishes. That protects our home gear and keeps door glass clear so we can watch baking without opening the unit.
Less elbow grease and fewer harsh chemicals give us a bright cavity and fewer smoky surprises. We touch up after big baking runs and enjoy ovens that are ready for weeknight dinners or holiday feasts.


