
Did you know a dirty oven can cut its efficiency by up to 10%? A self-cleaning oven makes cleaning easier, but it still needs effort for a clean inside. I’ll show you how to keep your oven working well and clean.
Keeping your oven clean is more than looks; it keeps it working right. With my easy tips, you’ll keep your self-cleaning oven in great shape.how-to-clean-cast-iron-skillet
Key Takeaways
- Understand the self-cleaning cycle of your oven
- Prepare your oven for the self-cleaning process
- Ensure safety precautions are taken during the cycle
- Post-cycle cleaning tips for a spotless interior
- Regular maintenance to keep your oven efficient
Understanding Self-Cleaning Ovens
Self-cleaning ovens use advanced tech to burn off food residue. This leaves behind just a bit of ash that’s easy to wipe away. This makes keeping your oven clean much simpler.
How Does a Self-Cleaning Oven Work?
A self-cleaning oven heats up to 800°F to 900°F (427°C to 482°C). This high heat turns food residue into ash. Once it cools, you can easily clean out the ash.how-to-clean-stainless-steel-pans
The self-cleaning cycle is designed to be easy and efficient. The oven locks during the cycle to keep it safe while it’s hot.
Benefits of Self-Cleaning Technology
Self-cleaning technology has many benefits. Some key advantages include:
- Reduced Manual Cleaning Effort: You don’t need to scrub or use harsh chemicals, making cleaning easier.
- Effective Food Residue Removal: The high heat burns away tough food residue, leaving your oven clean.
- Time-Saving: The self-cleaning cycle saves you time that you’d spend on manual cleaning.
Overall, self-cleaning ovens are a convenient, efficient, and safe way to keep your oven clean. They’re a great feature for homeowners.
Preparing to Clean Your Self-Cleaning Oven

Before starting the self-cleaning cycle, it’s important to prepare. This ensures a safe and effective cleaning. “Proper preparation is key to a successful self-cleaning cycle,” as it helps prevent issues and ensures your oven is thoroughly cleaned.how-to-clean-cast-iron
Safety Precautions Before Cleaning
To stay safe while using the self-cleaning feature, take a few precautions. First, remove all oven racks and accessories to prevent damage during the high-temperature cleaning cycle. Always check your oven’s manual for specific rack removal recommendations.
Also, make sure your kitchen is well-ventilated to prevent fume buildup during cleaning. Open windows or turn on your kitchen exhaust fan. This helps remove fumes and cools the oven faster after the cycle.
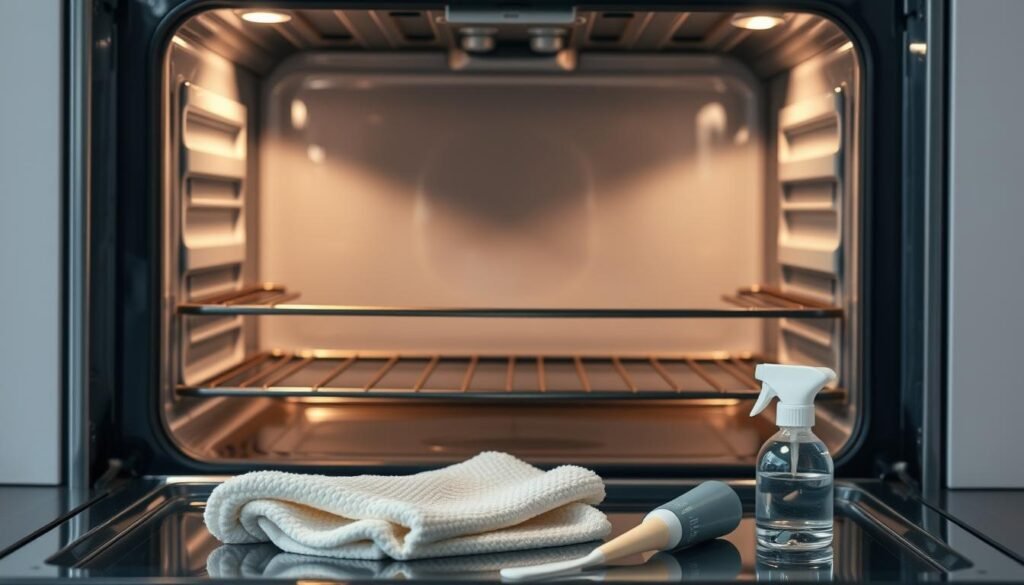
Gather Necessary Supplies
Having the right supplies makes cleaning your self-cleaning oven easier. You’ll need a damp cloth to wipe down the oven after it cools. This removes ash or residue, leaving your oven clean and ready for use.
Wear a pair of gloves to protect your hands when handling hot racks or wiping down the oven. If you have tough stains or grime, consider having baking soda and water or a commercial oven cleaner ready. But these are not always necessary for self-cleaning ovens.
By following these steps, you’ll be ready to use your oven’s self-cleaning feature safely and effectively. Remember, the key to success is preparation and patience.
Using the Self-Cleaning Feature Effectively

To get the most out of your self-cleaning oven, it’s crucial to understand how to use the self-cleaning feature effectively. This feature is designed to make oven maintenance easier. But, its effectiveness depends on how well you use it.how-to-clean-a-mouse-pad
Step-by-Step Guide to Initiate Self-Cleaning
Starting the self-cleaning cycle is easy but needs attention. First, make sure your oven is empty except for racks if they need cleaning. Remove any big debris from the oven floor to help with cleaning.
Next, look at your oven’s manual to find the self-cleaning cycle option. You’ll usually pick the cleaning time, which is usually 2 to 4 hours. Then, start the cycle. The oven will lock and heat up to a very high temperature. This burns off grime and food residue.
Key steps to follow:
- Remove all oven contents except for racks if necessary.
- Check your oven’s manual for specific instructions on initiating the self-cleaning cycle.
- Choose the appropriate cleaning duration based on the level of grime.
- Start the cycle and let the oven do the work.
Recommended Cleaning Duration
The cleaning time depends on how dirty your oven is. For lightly soiled ovens, a 2-hour cycle might be enough. But, for ovens with heavy grime, you might need a 4-hour cycle. Always check your oven’s manual for the best cleaning time for your model.
Tips for optimal results:
- For average grime, a 3-hour cycle is often sufficient.
- Heavily soiled ovens may require the maximum cycle duration.
- Always refer to your oven’s manual for model-specific recommendations.
After the Self-Clean Cycle: Next Steps

After the self-clean cycle, it’s important to take a few steps to clean your oven well. The self-cleaning feature burns off food, leaving ash that must be removed.
Allowing the Oven to Cool
The oven will be very hot after the self-clean cycle. It’s key to wait until it cools down before cleaning. This keeps you safe and makes cleaning easier. Depending on the oven, it might take a few hours to cool.
Wiping Down the Interior
When the oven is cool, you can start cleaning. Use a damp cloth to wipe away the ash. For tough spots, check the manufacturer’s cleaning product recommendations. GE Appliances has cleaning tips on their support page.
Tips for Effective Cleaning:
- Use a non-abrasive cloth or sponge to avoid scratching the oven surfaces.
- Avoid using harsh chemicals, as they can damage the oven’s finish.
- For tough residue, a mixture of baking soda and water can be an effective cleaning solution.
As GE Appliances advises, regular care makes deep cleaning easier. By following these steps, your self-cleaning oven will stay in great shape.how-to-clean-a-mousepad
“Regular oven maintenance is key to a spotless kitchen. By understanding how to properly clean and maintain your self-cleaning oven, you can enjoy a hassle-free cooking experience.”
Maintaining Your Self-Cleaning Oven

To keep your self-cleaning oven in top shape, regular care is key. It makes sure the oven works well and stops tough grime from building up.
Regular Cleaning Tips
Keeping your oven clean is easy with a few habits. Wipe down the oven surfaces with a damp cloth after each use. This stops grime from building up and makes cleaning easier.
Also, regularly clean the oven racks and accessories. Remove big food bits and stains before the self-cleaning cycle. This makes a big difference in the results.how-to-clean-a-fish-tank
How Often Should You Self-Clean?
How often you self-clean depends on how much you use your oven. If you use it a lot, clean it every 1-3 months. If you use it less, every 6 months is fine.
Key Considerations:
- Heavy usage: Self-clean every 1-3 months.
- Moderate usage: Self-clean every 3-6 months.
- Light usage: Self-clean every 6 months.
By following these tips and cleaning regularly, your self-cleaning oven will stay in great shape. It will keep working well and be easy to clean.
Troubleshooting Common Issues
Troubleshooting is key to keeping your self-cleaning oven in top shape. These ovens make cleaning easier, but knowing how to fix problems is crucial. It helps keep your appliance running well.
Issues You Might Encounter
You might face a few issues during or after the self-cleaning cycle. One common problem is stubborn residue or ash that doesn’t get cleaned away. This can happen for many reasons, like the type of food, oven temperature, or cleaning time.
Some common issues include:
- Excessive smoke or fumes
- Incomplete cleaning
- Stubborn food residue
- Oven not heating properly during the cycle
Solutions for Stubborn Residue
Dealing with stubborn residue can be tough, but there are ways to tackle it. First, let the oven cool down completely after the cycle. Then, use a damp cloth to wipe down the interior. For tough spots, a baking soda and water paste works well.
Here’s a step-by-step guide to tackling stubborn residue:
- Allow the oven to cool completely.
- Wipe the interior with a damp cloth to remove loose ash.
- For stubborn areas, apply a paste made from baking soda and water.
- Let it sit overnight before wiping it clean.
Understanding common issues and their fixes helps keep your self-cleaning oven in great shape. Regular care and using the self-cleaning feature right can prevent many problems. This makes cleaning your oven much easier.
Alternative Cleaning Methods
Some people prefer not to use the self-cleaning feature of their ovens. They might want a greener option or avoid the oven’s high heat. Luckily, there are other ways to keep your oven clean.
Using Baking Soda and Vinegar
Using baking soda and vinegar is a popular choice. It’s good for the planet and works well. First, mix baking soda with water to make a paste. Apply it to your oven’s inside surfaces.
Let it sit overnight. Then, wipe it down with a damp cloth. Use vinegar to get rid of any leftover dirt.
For more tips on using baking soda and vinegar, check out Arm & Hammer’s guide. They offer extra advice and different ways to do it.
Commercial Oven Cleaners: Do They Work?
Commercial oven cleaners are another option. They can tackle tough grime and food. But, always follow the instructions and wear gloves for safety.
Learn more about using commercial cleaners in this guide on cleaning ovens. It compares different products and methods.
| Cleaning Method | Effectiveness | Environmental Impact |
|---|---|---|
| Baking Soda and Vinegar | High | Low |
| Commercial Oven Cleaners | Very High | Moderate to High |
| Self-Cleaning Feature | Very High | High (due to energy consumption) |
Exploring these alternatives lets you pick the best method for you. This way, your oven stays clean and works well.
Caring for Oven Racks and Accessories
Keeping your oven clean is not just about the inside. Oven racks and accessories need care too. When you clean your oven racks, you make your oven look better and keep it clean for cooking.
Cleaning Techniques for Oven Racks
Cleaning oven racks can be tough because of the grime. Here are some good ways to do it:
- Soaking Method: Take out the racks and soak them in hot water and dish soap. For hard grime, add baking soda.
- Scrubbing: After soaking, scrub them with a soft brush. For hard stains, make a paste with baking soda and water.
- Using a Dishwasher: If your racks are dishwasher-safe, it’s easy. Just check if they can handle the dishwasher’s heat.
Maintaining Other Oven Accessories
Oven trays and broiler pans also need regular care. Here’s how:
- Regular Wiping: Wipe them down with a damp cloth after each use to stop grime.
- Deep Cleaning: For tough grime, use baking soda and water or a gentle cleaner. Don’t use harsh materials that can damage them.
- Drying: Dry them well after cleaning to avoid water spots and bacteria.
By following these easy steps, you can keep your oven racks and accessories in top shape. This ensures a cleaner and more efficient cooking space.
Final Tips for a Pristine Oven
Keeping your oven clean is key for its efficiency and life span. A dirty oven can raise energy use by up to 10%. So, cleaning it regularly is a must.
Oven Maintenance Routine
Wipe down your oven surfaces after each use. Also, do a deep clean every 1-3 months, based on how often you use it. For more tips on cleaning your oven, check out this guide.
Quick Cleaning Hacks
For stubborn stains, try baking soda and vinegar. These natural cleaners are good for your oven and work well. By following these easy steps, your oven will stay in great shape. This means you’ll always get perfect meals.


