
Surprising fact: I learned that neglected crumbs can help start a fire in small kitchen appliances, so regular care matters more than I thought.
I keep my routine short and practical. I unplug first, let the unit cool, and then remove the crumb tray. This small step saves time and reduces risk.
Using dishwashing liquid with a degreaser cuts through grease and residue faster than plain soap. I use a soft brush for slots and a cloth for the exterior.
I follow a schedule based on use: daily use means weekly attention, a few times a week means every two weeks, and rare use means monthly checks. That habit keeps my appliance lasting longer and my toast tasting better.
What I’ll cover next: emptying the tray, brushing inside, gentle wiping, and letting parts dry before reassembly. These steps keep crumbs from smoking and prevent uneven heating.
Key Takeaways
- Unplug and cool the unit before any work.
- Use degreasing dish soap and a soft brush for best results.
- Empty the crumb tray regularly to cut fire risk.
- Set a cleaning schedule based on use frequency.
- Let all parts dry fully before plugging in again.
Why a Clean Toaster Matters and How I Stay Safe
Keeping my toaster free of buildup is one of the simplest ways I protect my kitchen and my breakfast. Regular attention makes toast taste better because old residue and burnt bits don’t mix with fresh food.
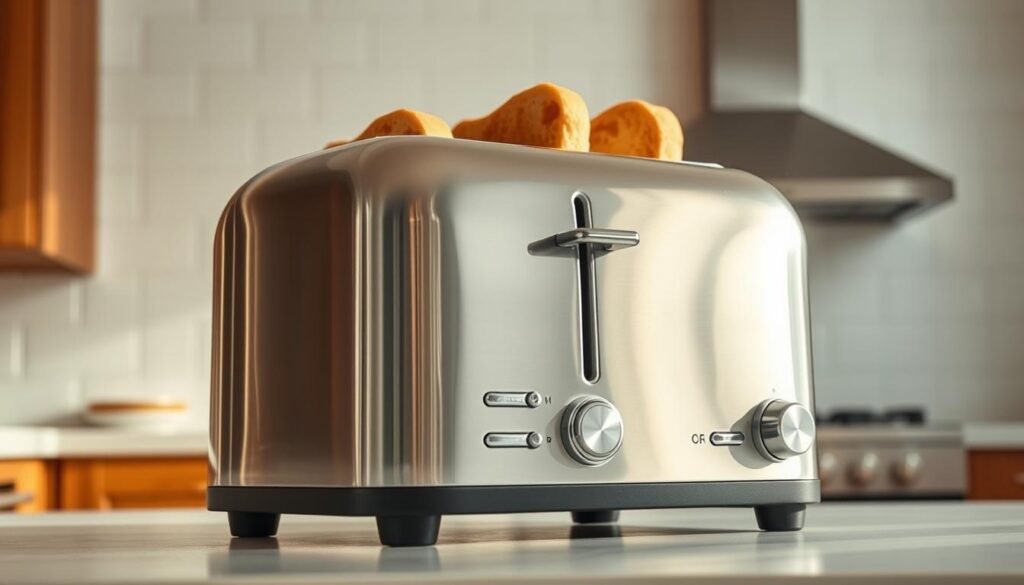
Benefits are simple: fewer crumbs, less grease, and a lower risk of fire. Removing the crumb tray at the bottom catches most debris. On four-slice models I check for an extra tray so nothing hides under the unit.how-to-clean-grout
Safety comes first. I always unplug the toaster and let it cool before any work. I never pour water into the interior and I keep contact gentle so heating parts don’t bend.
- I empty crumbs before they cake on the bottom for faster future maintenance.
- Weekly cleaning fits daily users; every two weeks works for occasional use; monthly helps rare users.
- Small habits save time and extend this appliance’s life by avoiding hot spots and mechanical stress.
“A clean tray and light interior wipe are tiny tasks that prevent bigger problems.”
My Go-To Tools and Prep Before Cleaning

Before I begin, I gather every tool so the task stays quick and calm. I keep the list simple: a mild dish soap with a degreaser, a soft brush, a sponge or soft cloth, and access to the crumb tray.
I also bring optional helpers: diluted white vinegar for stubborn marks, a microfiber for shine, and compressed air when I want to nudge dust from tight spots.how-to-clean-suede
Prep matters. I clear the counter and set the sink with warm water and a little dish liquid so removable bits soak right away. I place a damp cloth nearby to catch drips and wipe as I go.
- I locate the tray so it slides out first and saves a step.
- I favor a soft-bristled pastry or old toothbrush because it loosens debris without scratching.
- I skip abrasive pads and harsh cleaners that harm finishes or nonstick interiors.
- Finally, I double-check the toaster is unplugged and fully cool—safe prep keeps the routine easy and worry-free.
How to Clean a Toaster

I never hurry this step: I unplug the unit and let it cool fully before I do anything near the interior. That small pause keeps the process safe and simple.how-to-clean-dryer-vent
Remove and wash the removable crumb tray
I slide out the removable crumb tray (some four-slice models have two) and tap it over the sink to dump loose crumbs. Then I wash the tray in warm soapy water and rinse until no sticky residue remains.
Shake, brush the slots, and chase stubborn debris
Holding the appliance upside down over the sink or a bin, I give it a few controlled shakes to free residual crumbs. I follow with a soft brush—pastry brush or old toothbrush—sweeping gently along the slots so I don’t nick any heating parts.
Wipe inside and reassemble only when dry
I use a barely damp cloth to lift the fine dust left in the interior, keeping pressure light near the heating elements. I check the bottom and corners for hidden crumb pockets that might scorch later.
- Tip: Compressed air can nudge stubborn bits from tight spots.
- Reassemble only after every piece is fully dry so moisture won’t reach electrical parts.
Make the Exterior Shine Without Scratches

Bright, streak-free surfaces start with a gentle daily pass of a damp cloth. I wipe the exterior with a soft sponge and dish soap warm water to lift fingerprints and light residue. This quick step keeps the whole unit looking cared for.how-to-clean-a-washing-machine
Daily wipe-down:
Daily wipe-down
I use a non-abrasive sponge or cloth and soap warm water. I never soak the controls; a light swipe removes grease without risking moisture near the tray or buttons.
Stainless steel care
For stainless steel panels I always wipe with the grain. I avoid acidic or citrus cleaners and never spray liquids directly on the surface.
For stubborn marks I apply a tiny bit of diluted vinegar to the cloth or a baking soda paste. I rinse with a damp cloth, then dry right away with microfiber so steel stays streak-free.
- I skip abrasive pads because they scratch and dull steel finishes.
- I touch up around the tray lip and control panel where residue gathers.
- For extra detail I buff with a clean microfiber for a polished exterior toaster look.
For a quick reference on full maintenance routines, I also check this quick reference.
Deep-Clean Moves, Heating Elements Caution, and What I Never Use

My deep-clean step begins with a short steam soak that softens stubborn residue. I warm a shallow layer of water on the tray so steam loosens baked-on grease. After a few minutes the gunk wipes away with far less effort.how-to-clean-battery-corrosion
I start with simple dish soap and a soft sponge because soap often removes grease without risking finishes. If residue remains, I move to diluted vinegar or a gentle degreaser like Krud Kutter. For glass panels I lightly rub with a Mr. Clean Magic Eraser when smudges won’t budge.
Heating elements are fragile. I avoid touching them. If I must, I use a barely damp cloth and no pressure. Then I wait until every part is fully dry before plugging the unit back in.
- I skip bleach, ammonia, steel wool, and heavy-duty oven cleaners; they can strip nonstick coatings and leave odors.
- I let steam and soak time do the work so I don’t need aggressive scrubbing of the interior or racks.
- I finish by nudging stubborn crumb pockets with a small brush, then lifting loosened bits with a gentle sponge.
| Step | What I use | Why it works | Warnings |
|---|---|---|---|
| Steam loosen-up | Warm water on tray | Softens baked-on grease and residue | Do not overfill tray; avoid direct contact with elements |
| Gentle clean | Dish soap, sponge, soft brush | Safe for coatings; removes most grease | Keep cloth damp, not wet, near elements |
| Stronger spot treatment | Diluted vinegar or gentle degreaser, Magic Eraser | Breaks stubborn residue and lifts marks on glass | Avoid on steel that may dull; test first |
For a step-by-step maintenance guide I trust, I also consult this full maintenance routines page when I plan a deeper session.how-to-clean-shower-head
Conclusion
, Small, regular steps are the trick I use to stop crumbs from turning into baked-on trouble. Empty the tray often and give the exterior a quick wipe so airflow and flavor stay good.
I use mild dish soap and warm water for most spots, a soft brush for slots, and a sponge or cloth for the shell. For stubborn baking marks I add a touch of diluted vinegar. I avoid harsh chemicals and abrasives that harm finishes.
Set a rhythm that fits your life: weekly for daily cooks, every two weeks for occasional use, and monthly if it sits. Always unplug and let parts dry fully before reassembly. For a practical reference on full maintenance, see this cleaning toaster guide.


