
Surprising fact: over half of American homes now use luxury vinyl or LVT, yet many owners still damage the finish with the wrong routine.
I care about my floors because they handle daily life. I keep my vinyl plank flooring looking new with a simple, proven way that protects the factory finish. I use a microfiber mop or a soft-bristle broom and a vacuum without a beater bar.
Small habits make a big difference. I avoid harsh cleaners and excess moisture that can seep into seams and cause bubbles. I lift furniture, add protective pads, and block direct sunlight to prevent fading.
When a spill happens, I act fast. For deeper care I follow a safe process: inspect, vacuum, apply an LVP-safe cleaner, machine scrub if needed, dry with microfiber, and do a final walkthrough. That routine keeps the finish and durability intact without overcomplicating my life.
Key Takeaways
- Protect the factory finish with gentle tools and a vacuum without a beater bar.
- Avoid harsh chemicals and excess moisture to prevent sealant damage and bubbles.
- Act quickly on spills and use furniture pads to stop scratches.
- Follow a simple weekly routine and call pros for deep machine scrubbing when needed.
- Understand why luxury vinyl differs from hardwood and choose products made for vinyl.
What I Do First: Quick Essentials for Cleaning Luxury Vinyl Plank
I always begin with low-risk tools that trap dirt without scratching the planks. That simple rule saves time and prevents surface damage.
Pick tools first. I reach for a microfiber mop for dust and loose dirt. For quick runs I use a soft-bristle broom in entry areas. When I vacuum, I switch off the beater bar and choose a hard-floor setting or attachment.how-to-clean-window-ac-unit
I go light on moisture. Too much water in seams causes bubbles and long-term damage. I use a well-wrung mop and work small areas so the surface never stays wet.
- I keep white cloths handy to blot spills quickly before they spread across adjacent areas.
- I check cleaner labels and avoid abrasive or wax-based products that weaken the sealant.
- I look for loose dirt near doorways and transition strips and remove it before it scratches the vinyl plank.
| Tool | Use | Why I pick it |
|---|---|---|
| Microfiber mop | Dry dusting, light damp mops | Traps dirt without abrasion |
| Soft-bristle broom | Daily sweeps in entry areas | Quick debris pickup, gentle on surface |
| Vacuum (beater off) | Thorough loose dirt removal | Prevents scratches and lifts embedded grit |
For more detailed routines and product picks, see this short guide: vinyl care steps.
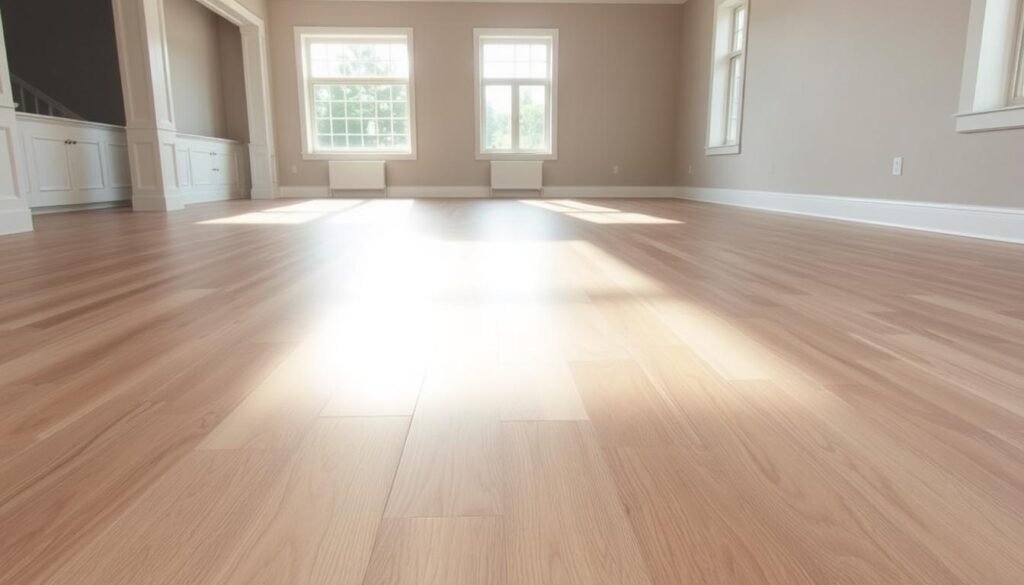
My Simple Routine for Daily and Weekly Care
 floor in a warmly lit, minimalist interior. The mop's handle is angled for ergonomic efficiency, and its swivel head allows for effortless cleaning around furniture and baseboards. The floor's surface shimmers with a subtle sheen, free of any visible dirt or debris, conveying a sense of immaculate cleanliness and daily care. The overall scene exudes a tranquil, serene atmosphere, reflecting the simple yet effective cleaning routine described in the article's \"My Simple Routine for Daily and Weekly Care\" section.")
My regular care focuses on removing grit fast and limiting moisture contact. I start with a dry pass that lifts dust and loose dirt. This prevents scratches and keeps the surface uniform across rooms.
Dry remove loose dirt and dust with a microfiber mop or backpack vacuum
I use a microfiber mop or a backpack vacuum fitted with a non-abrasive hard-floor head. That pulls grit from plank textures without scuffing the finish.how-to-clean-white-converse
Damp mop with a gentle cleaning solution designed for vinyl floors
For damp mopping I mix a vinyl-compatible cleaning solution per the label. I make light passes and avoid heavy detergent products that leave a residue.
Rinse and wring often so dirt doesn’t redeposit in wood-grain valleys
I keep a second bucket or sink ready and refresh the solution before it gets cloudy. I wring the mop thoroughly and rinse it often so I don’t spread soil back into the grain.
Quick checks in high-traffic areas to keep floors looking even
I walk entries and main paths first on each run. Catching buildup early keeps the overall appearance even and reduces the need for stronger products later.
| Step | Tool or product | Why it matters |
|---|---|---|
| Dry dust | Microfiber mop or backpack vacuum | Removes dust and grit that scratch the plank |
| Damp mop | Vinyl-compatible cleaning solution (diluted) | Solves spills and light soil without harming the seal |
| Rinse & wring | Second bucket or sink | Prevents redepositing dirt in textured wood-grain |
| Spot checks | Microfiber cloth | Maintains even look in high-traffic areas |
Quick tip: If you want a deeper routine or product picks, see these vinyl care steps.
How to clean LVP flooring

I start each run by removing grit and crumbs so the finish stays clear and scratch-free.
Dry first. I vacuum with the brush roll off or use a dust mop and work along each plank. That prevents grit from scratching the wear layer while I move on to damp steps.how-to-clean-white-board
I dilute a vinyl-safe cleaner per the label and keep the mix light. Using a well-wrung mop, I make overlapping passes so coverage is even and streaks are rare.
I refresh the solution when it looks cloudy and wring the mop often. Pausing to change water stops dirty liquid from settling into seams or textured grain.
- Check vacuum attachments and settings before use to protect the surface.
- Lift furniture when needed and add felt pads under legs.
- Block strong sun with curtains during peak hours to limit fading.
Quick drying matters: I finish with a microfiber cloth or mop head to remove excess water and cut slip risk. For more on commercial care, see this commercial vinyl care guide.
Deep Cleaning and Tough Marks Without Damaging the Finish

For stubborn marks I rely on a scrubbing machine that recovers dirty water instantly. It pulls up soil so I don’t push grit back into textured plank grooves. That matters for preserving the wear layer and avoiding long-term damage.
I use only red or white pads and never abrasive wheels. Those gentle pads remove stuck-on grime without scuffing the surface. I avoid harsh chemicals that can dull or break down the protective coating.
Smart dilution and scrub technique
I mix a vinyl-compatible cleaner at two ounces per gallon (1:64). Then I make slow, overlapping passes so the machine scrubs and recovers solution thoroughly across all areas.
- I pick up squeegee trails and puddles with a damp mop, then dry edges with a microfiber cloth.
- After each job I drain and rinse scrubber tanks and treat the recovery system if foam builds up.
- For embedded dirt or large open rooms I choose the automatic scrubber over a manual mop or vacuum.
| Task | Tool or mix | Benefit |
|---|---|---|
| Deep scrub | Automatic scrubber, red/white pad | Removes embedded marks without abrasion |
| Cleaner mix | 2 oz per gallon (1:64) | Safe strength for vinyl floors and plank flooring |
| Finish steps | Damp mop, microfiber dry | Eliminates squeegee lines and prevents water damage |
For a detailed routine that complements this process, see my short internal guide: vinyl care guide.
Spills, Stains, and High-Traffic Areas: My Spot-Cleaning Playbook
 flooring, featuring a variety of spills and stains. In the foreground, a red wine stain has seeped into the grooves, while a coffee spill has dried into a dark brown splotch. In the middle ground, a scuff mark from heavy foot traffic is visible, and a small grease stain from a cooking mishap is noticeable. The background showcases a slight discoloration from accumulated dirt and grime in a high-usage zone. The lighting is natural, casting soft shadows that accentuate the texture and wear of the flooring. The overall scene conveys the need for a thorough cleaning regimen to maintain the LVP's pristine appearance.")
I watch high-traffic areas closely and act fast when I see a spill or mark. Quick action prevents stains from setting and keeps the finish looking even.how-to-clean-weed-pipe
Blot first. I reach for a white cloth and lift moisture by blotting—never rub. Then I follow with a gentle damp wipe and blot dry so water never sits in seams.
Pet accidents and sticky marks
I treat pet incidents right away with a vinyl-safe solution that leaves no sticky residue. I avoid vinegar, citrus, wax, and detergent-heavy products that haze or weaken the surface.
Entry mats and quick touch-ups
I place entry mats and area rugs at doors to trap grit before it reaches busy areas. For daily touch-ups I use a backpack vacuum on lanes, then a well-wrung mop or a microfiber cloth for a light pass.
- Blot spills: white cloth first, damp wipe, then dry.
- Pet care: gentle solution, no residue.
- Prevent tracking: mats and rugs at entrances.
- Quick fixes: microfiber for scuffs and a small caddy with cloths and cleaner on hand.
| Problem | Tool | Why it works |
|---|---|---|
| Fresh spill | White cloth, damp wipe | Removes moisture without pushing it into seams |
| Tracked dirt | Entry mat, backpack vacuum | Stops grit that scratches the surface |
| Minor marks | Microfiber cloth | Spot removal before stains form |
Protection and Prevention Tips I Swear By

A few simple steps stop most common damage before it starts. I focus on prevention because it saves time and keeps my plank flooring looking new longer.how-to-clean-white-board
I lift and carry heavy items instead of dragging them. That small habit prevents gouges and scuffs. I also stick felt pads under furniture legs and check them often.
Lift furniture, use pads and avoid rolling casters
I always lift furniture, never drag it, and I replace worn glides fast. If a glide fails, a bare leg can dig into the floor within minutes.
I avoid rolling casters where possible. When they are necessary, I place an area rug or a floor protector under the chair zone.
Block direct sun and reduce wear in busy areas
I block direct sun with blinds or window film so the surface keeps its color and durability. I also trim my pets’ nails and use mats where traffic is heaviest.
- Quick checks: I do a short walk-around to make sure pads are intact and furniture hasn’t shifted.
- Stash of supplies: I keep spare pads, glides, and rug grippers on hand for fast fixes.
- Smart placement: Mats and protectors stop grit from reaching the finish and extend product life.
For a compact reference on routine care and the right products, see this luxury vinyl care guide.
What I Avoid on Vinyl Plank Flooring (to Prevent Damage)

I avoid trendy or strong products that promise instant shine but risk lasting harm. That mindset keeps the surface clear and the wear layer intact.
No vinegar, wax, citrus, steam, or detergent-heavy cleaners
I steer clear of vinegar, citrus-based sprays, wax, and heavy detergents. Those items can haze or soften the finish and leave sticky residue that attracts dirt.
I also skip steam mops unless the maker explicitly approves them. Heat and pressurized water can loosen adhesive under some installations and warp planks.
Skip upright vacuums with brush rolls and abrasive scrubbers
Upright vacuums with spinning brush rolls can scratch the vinyl plank surface. Abrasive pads and powdered cleaners create fine scratches that dull the look and trap grime.
I pick non-abrasive tools and a floor cleaner made for luxury vinyl. Read labels and make sure the product won’t leave a film.how-to-clean-a-coffee-maker
- I keep vinegar, citrus, wax, and detergent-heavy products off my vinyl so the finish stays clear.
- I limit water use even during deep work so seams and edges don’t absorb moisture.
- I replace worn pads with felt or soft rubber and use a hard-floor vacuum tool instead of a brush roll.
| Product to Avoid | Risk | Safe Alternative |
|---|---|---|
| Vinegar or citrus cleaners | Haze, weakened finish | Vinyl-safe floor cleaner, diluted per label |
| Wax and polish | Builds film, attracts dirt | No-shine maintenance with microfiber dry pass |
| Steam mops | Heat can lift adhesive, warp planks | Low-moisture damp mopping, machine scrub with recovery |
| Upright vacuums (brush roll) | Scuffs and scratches | Vacuum with beater bar off or hard-floor tool |
Conclusion
A few steady steps keep my vinyl looking fresh and hold up under daily wear.
I start with dry pickup: microfiber for dust and a vacuum without a brush roll. Then I make light passes with a well-wrung mop and a vinyl-safe cleaning solution so the finish stays clear.
I watch moisture closely: wring the mop, limit water, blot spills with a white cloth, and dry fast. For deep work I dilute a labeled cleaner at two ounces per gallon, overlap passes, recover solution, and avoid abrasive pads, vinegar, wax, citrus, and steam.
Protective moves—entry mats, lifted furniture, soft glides—cut down dirt and wear. For a handy reference, see this vinyl plank care guide.


