
Did you know a Waterpik can hold bacteria and other germs if not cleaned right? This can cause oral health problems, which goes against the tool’s purpose. It’s key to clean your Waterpik regularly to keep it working well and your mouth healthy.
Keeping your oral health tool clean is more than just rinsing it with water. It needs a deep clean. In this article, we’ll show you how to make sure your Waterpik stays a great part of your oral care routine.
Key Takeaways
- Understand the importance of regular Waterpik maintenance
- Learn the steps to clean your Waterpik effectively
- Discover tips to prevent bacterial growth in your Waterpik
- Find out how to maintain your Waterpik for long-term use
- Explore the connection between Waterpik maintenance and oral health
Importance of Cleaning Your Waterpik
Keeping your Waterpik clean is very important. It’s key for good oral hygiene. Regular care makes it work better and last longer.
Benefits of Regular Cleaning
Regular cleaning of your Waterpik has many benefits. It keeps the device working well, giving you the best oral care. Here are some main advantages:
- Enhanced Oral Hygiene: Cleaning your Waterpik often removes plaque and bacteria. This helps keep your gums and teeth healthy.
- Prevention of Bacterial Growth: Regular upkeep stops harmful bacteria from growing inside. This keeps your Waterpik from causing infections.
- Optimal Performance: A clean Waterpik works better. You get a more effective cleaning experience.
Avoiding Bacterial Build-up
Bacterial build-up is a big worry with Waterpik maintenance. If not cleaned right, it can hold bacteria. This bacteria can then spread to your mouth. To prevent this:
- Regularly Disassemble and Clean: Follow the manufacturer’s guide to take apart and clean your Waterpik thoroughly.
- Use Appropriate Cleaning Solutions: Choose cleaning products that are safe for your Waterpik and kill bacteria.
By doing these steps, you keep your Waterpik in top shape. It will continue to support your oral care routine well.
When to Clean Your Waterpik
To keep your Waterpik in top shape, knowing when to clean it is key. A regular cleaning schedule is vital. It keeps your Waterpik working well and supports your oral health. Here, I’ll show you how to clean it daily and weekly and when it needs a deep clean.how-to-clean-a-down-comforter
Daily vs. Weekly Cleaning Routines
Cleaning your Waterpik daily and weekly is crucial. Daily cleaning means rinsing the reservoir and nozzle after each use. This removes debris and bacteria, reducing the risk of build-up.
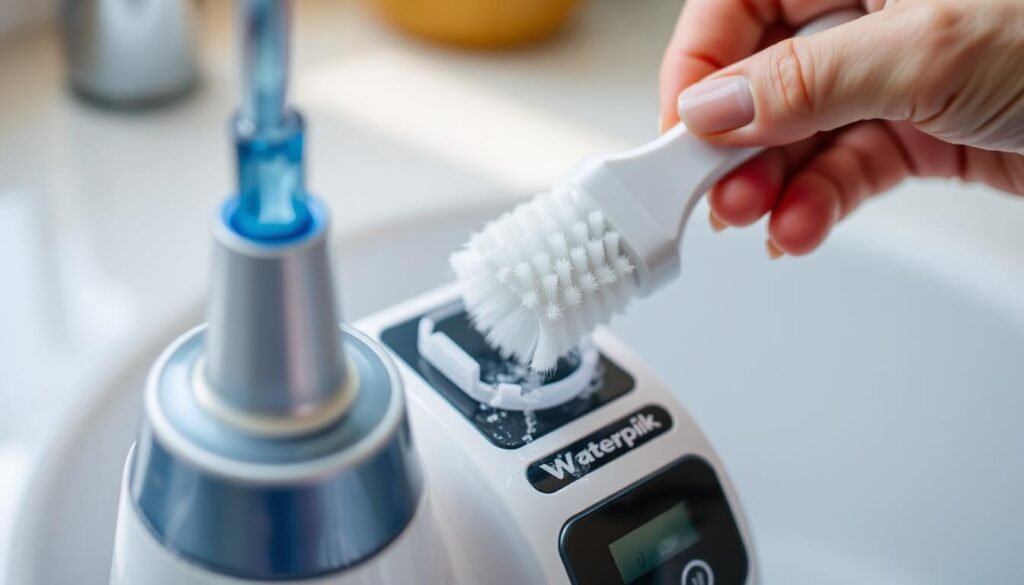
Weekly cleaning is also essential. Soak the nozzle and reservoir in warm soapy water. Use a soft brush to clean hard-to-reach spots. This removes stubborn bacteria and mineral deposits that daily rinsing might miss.
Signs Your Waterpik Needs a Deep Clean
There are signs that your Waterpik needs a deep clean. Look out for these:
- Reduced water pressure or flow
- Visible mineral deposits or scaling
- Unpleasant odors or tastes
- Bacterial or mold growth in the reservoir or nozzle
Fixing these issues with a deep clean will keep your Waterpik working well. It ensures it continues to support your oral health.
How to Disassemble a Waterpik
To keep your Waterpik in top shape, you must know how to take it apart. Disassembling it lets you clean it better, which is key for good oral health.
Removing the Reservoir
The reservoir is a key part that needs regular cleaning. Here’s how to take it off:
- Turn off and unplug your Waterpik.
- Pull the reservoir straight off its base.
- Rinse it under running water to remove any debris.
Tip: Cleaning the reservoir often stops bacteria from growing.how-to-clean-grout/
Detaching the Handle
Removing the handle is another important step. Here’s how to do it:
- Find the handle and the tube that connects it to the base.
- Gently pull the tube off the base.
- Take off any nozzles or tips from the handle for cleaning.
After taking these parts apart, you can clean them better. Here’s a quick guide to disassembling in a table:
| Component | Disassembly Steps | ||
|---|---|---|---|
| Reservoir | 1. Turn off and unplug | 2. Pull straight off | 3. Rinse under running water |
| Handle | 1. Locate handle and tube | 2. Pull tube off base | 3. Remove nozzles or tips |
By following these steps, you can make sure your Waterpik is ready for cleaning. Regular cleaning and disassembly keep your Waterpik working well and clean.
Cleaning the Water Reservoir

To keep your Waterpik working well, cleaning its water reservoir is key. A clean reservoir helps water flow smoothly and keeps it free from bacteria.how-to-clean-a-couch/
Using Warm Soapy Water
First, take out the reservoir from the Waterpik base. Fill it with warm soapy water. Then, use a soft-bristled brush to clean off any dirt or mineral buildup. Make sure to rinse it well with clean water to get rid of soap.
- Remove the reservoir from the base.
- Fill with warm soapy water.
- Scrub with a soft-bristled brush.
- Rinse thoroughly with clean water.
Disinfecting with Vinegar
To get a deeper clean, mix equal parts water and white vinegar in the reservoir. Let it sit for about 15 minutes to disinfect. Then, rinse it several times with clean water to get rid of vinegar taste and smell.
- Mix equal parts water and white vinegar.
- Let it sit for 15 minutes.
- Rinse thoroughly with clean water.
Regular cleaning of your Waterpik’s reservoir boosts its performance and oral health. By following these easy steps, your Waterpik will keep working well and safely.how-to-clean-suede/
Cleaning the Hose and Nozzle
Your Waterpik’s hose and nozzle need regular cleaning to stop bacteria buildup. This keeps your device working well and helps keep your mouth clean.
Flushing with Water
Flushing the hose with water is a simple cleaning method. First, remove the hose from the Waterpik base. Then, run warm water through it to clear out any debris.
Tip: Regular flushing helps prevent bacteria from growing in the hose.
Soaking Tips for Nozzles
The nozzle also needs regular cleaning. Soak it in warm water mixed with mild soap for a good clean. You can also use a recommended cleaning solution for a deeper clean.
Remember to rinse the nozzle well after soaking to get rid of soap.
For more detailed cleaning tips or help with problems, check the manufacturer’s guidelines or support resources.
Descaling Your Waterpik

Descaling your Waterpik is key to keeping it working well. Mineral deposits from water can build up inside. This can lower its performance and even cause bacteria to grow.how-to-clean-a-humidifier/
Why Descaling is Important
Descaling removes mineral buildup in your Waterpik. This buildup, from hard water, can block the device’s tubes. It also makes it hard for the Waterpik to spray water well. Regular descaling keeps your Waterpik working great, giving you the best oral care.
Benefits of Descaling:
- Maintains optimal Waterpik performance
- Prevents mineral buildup
- Reduces the risk of bacterial growth
- Extends the lifespan of your Waterpik
Step-by-Step Descaling Process
Descaling your Waterpik is easy. Just follow these steps:
- Mix a descaling solution: Combine equal parts water and white vinegar in the Waterpik’s reservoir.
- Run the descaling solution through the device: Turn on your Waterpik and let it run until the reservoir is empty.
- Rinse thoroughly: Refill the reservoir with clean water and run the Waterpik until the reservoir is empty again to rinse out any remaining vinegar solution.
- Repeat if necessary: For heavily mineralized water, you may need to repeat the descaling process.
Tip: Regular descaling can be done every 3-6 months, depending on your water’s mineral content.
| Descaling Frequency | Water Type |
|---|---|
| Every 3 months | Very hard water |
| Every 6 months | Moderately hard water |
By following these steps and descaling regularly, your Waterpik will stay in top shape. This ensures effective oral care for many years.how-to-clean-uggs/
Electrical Components of the Waterpik
To keep your Waterpik working well, cleaning its electrical parts is key. The base and any parts with electrical functions need special care. This ensures they work safely and effectively.
Safely Wiping Down the Base
First, unplug your Waterpik before cleaning the base. This prevents electrical shock or damage. Use a soft, damp cloth to wipe the surface gently.
Avoid harsh chemicals or rough materials. They can harm the finish or damage the electrical parts.
For tough stains or splatters, mix mild soap with warm water. Dip a cloth in the solution, wring it out, and wipe the base. Then, clean off any soap with a damp cloth.
Precautions for Electrical Parts
Be careful with your Waterpik’s electrical parts. Don’t let liquids get into them. This could damage the parts or cause shock. If you must clean around these areas, use a dry cloth or a slightly damp one. Make sure to dry the area well afterward.
- Keep the electrical components dry.
- Avoid using chemical cleaners near electrical parts.
- Regularly inspect the cord and plug for damage.
By following these steps, your Waterpik will stay in good shape. It will keep supporting your oral health routine well.how-to-clean-iphone-charging-port/
Maintaining Your Waterpik’s Performance

To keep your Waterpik working well, regular care is key. A well-kept Waterpik helps keep your mouth healthy and lasts longer.how-to-clean-air-mass-meter/
There are two main steps to keep your Waterpik in top shape: check for blockages and replace nozzles often.
Checking for Blockages
Blockages can make your Waterpik less effective. Here’s how to check for them:
- Disconnect the nozzle from the handle.
- Run water through the handle to ensure it’s clear.
- Inspect the nozzle for any debris or mineral buildup.
- Soak the nozzle in warm soapy water if necessary.
Checking for blockages often keeps your Waterpik working right. It makes sure it has the right water pressure for good oral care.
Regular Replacement of Nozzles
It’s important to replace your Waterpik nozzle often for hygiene and performance.
- Replace the nozzle every 3-6 months or sooner if you notice signs of wear.
- Choose the correct replacement nozzle compatible with your Waterpik model.
A worn-out nozzle can lower performance and might harbor bacteria. This can harm your oral health.
By following these easy maintenance tips, your Waterpik will keep working great. This ensures you get the best oral care.how-to-clean-a-air-fryer/
Storing Your Waterpik Properly
Keeping your Waterpik clean is key to avoiding bacteria and keeping your mouth healthy. After cleaning, make sure to store it in a dry spot. This helps keep it free from harmful germs.
Best Practices for Storage
Here are some tips for storing your Waterpik right:
- Put the Waterpik in a dry spot, away from sunlight and moisture.
- Avoid storing it in bathrooms or humid areas.
- Use a cover to protect it from dust.
By doing these things, your Waterpik will stay clean and work well.
Keeping It Dry and Clean
Keeping your Waterpik clean while it’s stored is important. Here are some helpful tips:
| Storage Tip | Benefit |
|---|---|
| Dry the Waterpik well before you store it. | This stops bacteria and mold from growing. |
| Store it with the water tank empty. | This lowers the chance of it getting dirty. |
| Check the Waterpik often for damage. | This makes sure it keeps working well. |
Experts say storing your Waterpik right is key to its health and performance.
“Proper storage of oral care devices like Waterpik is often overlooked but is crucial for maintaining oral hygiene and the longevity of the device.”
By storing your Waterpik correctly, you’ll have a healthier smile for a long time.how-to-clean-a-jetted-whirlpool-tub/
Troubleshooting Cleaning Issues

Fixing your Waterpik’s cleaning problems is simpler than you might think. It begins with figuring out what’s wrong. If your Waterpik isn’t cleaning well, it’s crucial to fix it fast to keep your mouth healthy.
Common Problems and Solutions
There are a few usual problems when cleaning your Waterpik. These include clogged nozzles, mineral buildup, and electrical issues. For clogged nozzles, soak them in warm soapy water or a vinegar and water mix to clear out debris.how-to-clean-jacuzzi-jets-in-bathtub/
Mineral buildup is common, mainly in hard water areas. To remove it, mix vinegar and water and follow the maker’s cleaning guide. Regular descaling stops mineral buildup.
- Check the nozzle for blockages and clean or replace it as needed.
- Regularly descale your Waterpik to prevent mineral buildup.
- Ensure the device is properly assembled after cleaning to avoid operational issues.
When to Seek Professional Help
While many Waterpik problems can be fixed easily, some need a pro. If you’ve tried cleaning and troubleshooting but still have issues, it’s time to call for help.
Complex electrical issues or ongoing problems that affect how well it works mean you should get expert advice. Also, if your Waterpik is out of warranty and you’re not sure what to do, a pro can help safely and effectively.
By quickly fixing common cleaning problems and knowing when to get help, you can keep your Waterpik working right. This supports your oral health routine.
Environmental Impact of Cleaning Products
Cleaning your Waterpik is important, but think about the impact of cleaning products on the environment. Many cleaning products can harm fish and pollute water. It’s key to think about the environmental impact of our oral care routines.
Eco-friendly Cleaning Alternatives
Choosing eco-friendly cleaning options is a great way to help the planet. For your Waterpik, try a mix of warm water and white vinegar. It’s natural, effective, and doesn’t harm the environment.
Another choice is mild soap or eco-friendly cleaning solutions made for oral care tools. These are better for the planet and work well to clean your Waterpik.
Recycling Your Old Waterpik
When your Waterpik wears out, don’t throw it away. You can recycle it. Many parts, like the plastic reservoir and handle, can be recycled. Check with your local recycling program to see what they accept.how-to-clean-a-wool-rug/
Tips for Recycling:
- Take apart your Waterpik to recycle its parts.
- Look at the manufacturer’s website for recycling programs.
- Think about using parts of your old Waterpik for other things in your home.
By following these steps, you keep your Waterpik clean and help the planet.
Conclusion: Keeping Your Waterpik in Top Shape
Keeping your Waterpik clean is key for good oral health. Regular care can make your device last longer and work better.
Best Practices for Maintenance
To keep your Waterpik in good shape, rinse the reservoir after each use. Use a clean, damp cloth to wipe it. For more tips, check out Oral-B’s guide on water flosser cleaning.
Empty the reservoir and leave the tank open until you use it again. The water tank is dishwasher safe. Just make sure the lid is on the top rack. Clean the handle with a damp cloth and dry it after each use.
Regular Replacement and Checks
Change the nozzle every 3 to 6 months for best results. Check for blockages and tilt the reservoir to remove water. By following these steps, your Waterpik will stay in great condition. Enjoy a healthy, clean smile.


